Tuesday, March 22, 2011

First Day Back to Montessori Home-School

The anticipation, trepidation and anxiety (all on my part!) are mostly over with regards to restarting A-girl in her very own home Montessori environment. After a 2 year hiatus where she went to a wonderful Montessori Preschool called A Loving Family Montessori here in British Columbia, our move to a new location in the province has meant that I am her new/again directress. Just after the first work period here today I'm realizing how out of touch I've become with A.'s development and also how ignorant I am about an almost 4 year old's cognitive abilities. I have the master activity sheet from her old school which tracked which activities she was introduced to, and whether she achieved mastery or not with each one but still I was expecting her to be able to do things that she cannot yet accomplish just because of how she interacts with me and how smart I perceive her to be. Silly me!
Today has been a lesson for me in how my daughter perceives some aspects of the world and how the Montessori materials all mesh together to form the connections in the brain to allow them to recognize patterns and symbols in our world.
She was so ready to soak up all that she could. I pointed to and named each activity that she could choose to do and she ended up choosing each one for a total of 12 and still asked for more!
Circle Patterns:
using knobless cylinder patterns A. attempted to duplicate the pattern with the colored circles we have (don't know what they are called and can't find them anywhere on the net. We got them from A.'s former school which closed a sister school and had a lot of materials to sell. We got a SUPER deal and these unknown circles were a part of the package.) This was the first activity of the day which proved to me that I need to prepare the activities more thoroughly and start with presenting the easier versions first to see just where A. is in her abilities. I thought presenting two colors at a time to place in a large to smallest sequence would be easy but I was very wrong. Lesson learned for me!

Punching out a traced triangle from the Geometric Demonstration Tray (Persistence is the key! We have some work to do on that)
Close-up of punching (that's a lot of holes!)
Flower shaped Sewing Card
Rough and Smooth Boards
Spring Themed Memory Game
Visual Discrimination Cards (Can you find the frowning face with only one eye open?)
Knobbed Cylinder Blocks #1 and #3
Numeral Cards and Counters
Tracing some Sandpaper Letters
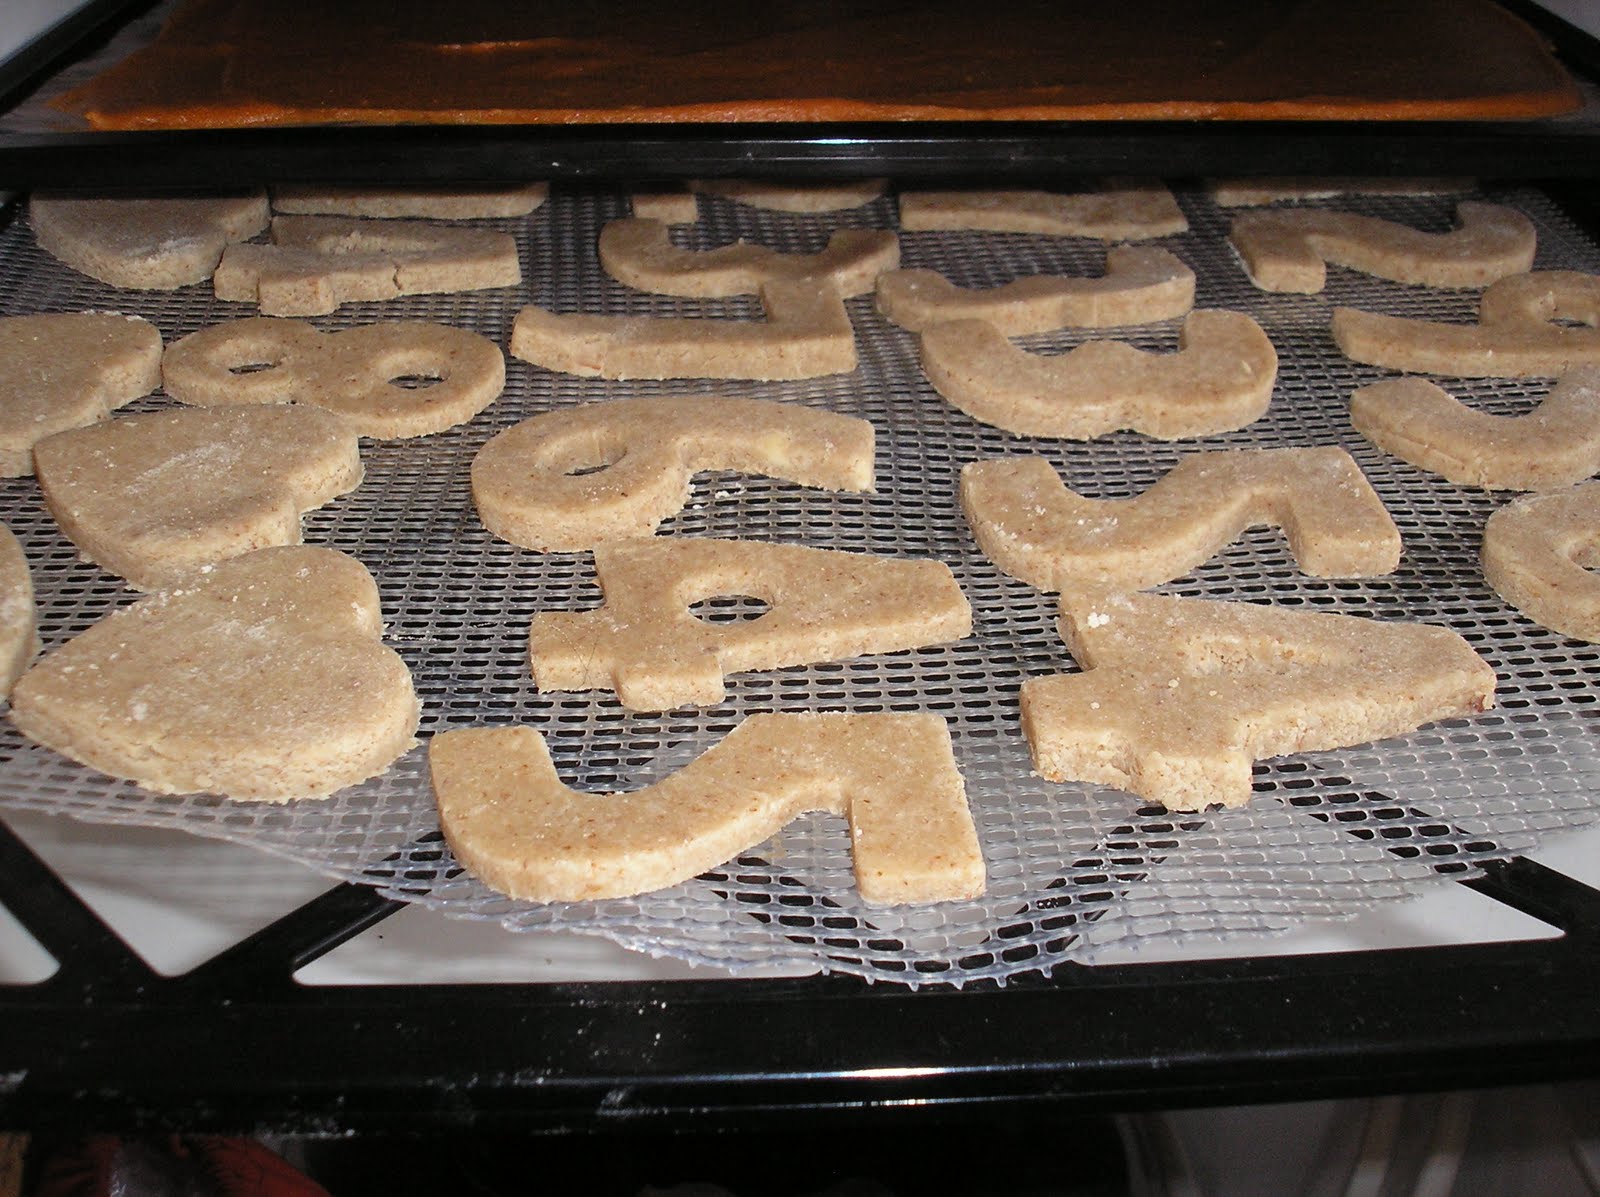
Tracing Sandpaper Numerals
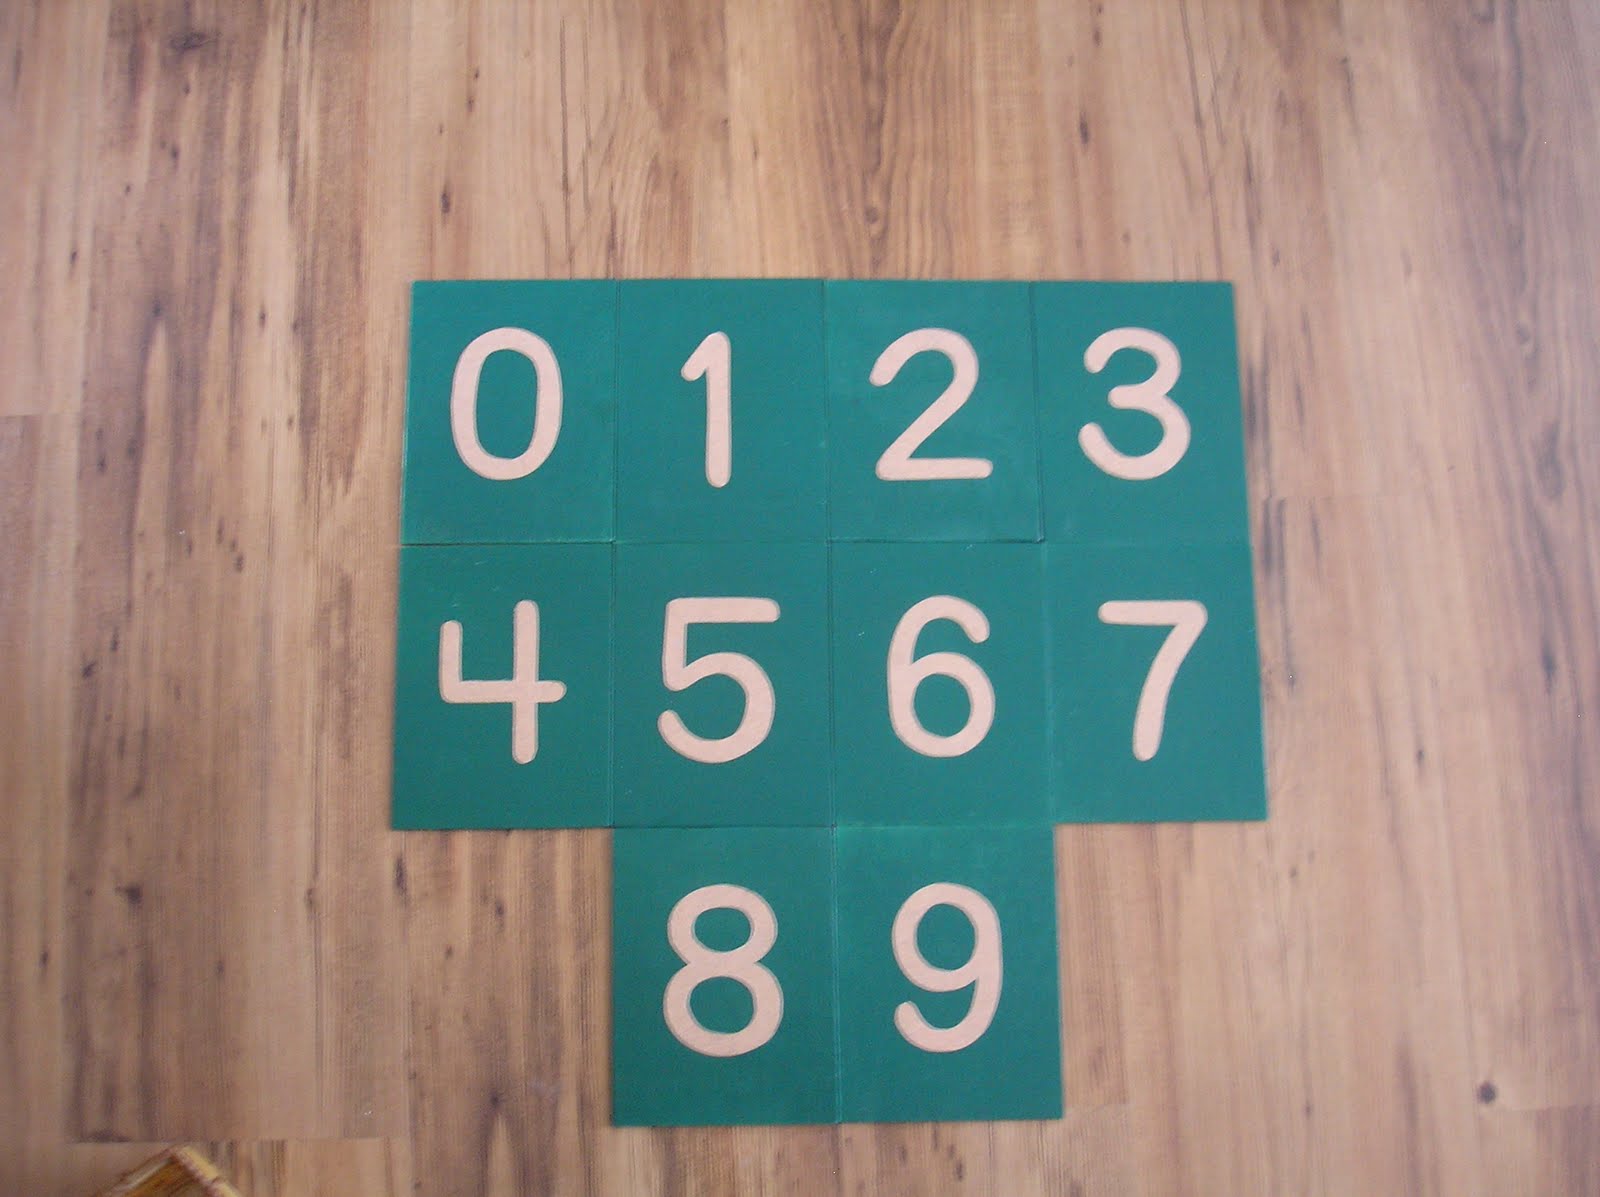
Matching Sandpaper Numerals to the Moveable Numbers
AAAAhhhhhh, having a little quiet reading time after a hard day's work!

Monday, March 21, 2011

Madly Making Materials- Teen and Tens boards

These were so satisfying to make. From sanding the wood to gluing the wooden divider strips to the boards and especially applying the non-toxic wood polish.
Some of the supplies which include:
*(2) 15.25" x 5" from 1/8" birch ply boards
*(2) 19.00" x 5" from 1/8" birch ply boards
*(22) 5" long 11/16" oak trim strips
*(18) 2.5"x 3" from 1/8" birch ply boards * weldbond glue
* 120 grit sandpaper
* green Sharpie permanent marker pen
* beeswax polish
For assembly, cut wood to size, then measure out spacing of the oak spacers and glue in place. Make sure to test all of the 18 wooden numeral cards in between each slot on the boards for a good fit. I made the mistake of using only a few of the cards as spacers to position the wood divider strips instead of measuring with a ruler and then when the boards were dry I found that some of the cards didn't fit in between the slots as they were all not the exact same size. I then had to sand some of the numeral cards down to fit. Next I used a sharpie marker to draw numerals on the boards and cards. This was my quick and easy method which I would not recommend if you have the time to paint on the numerals. The marker bled a bit beyond where I wanted it to be by running up the grain in the wood. I left the marker to dry for 12 hours and then the last step was to apply the wood polish. Just like when polishing shoes etc. I just smeared on the polish and rubbed it in with a rag and then buffed with a dry cloth. The marker I used was an old one that didn't have a lot of wet ink oomph so (as I later found out in making the small and large numeral cards when I used new markers) the ink didn't smear when I applied the wood polish.
YUM. beeswax.
Smells so divine! For a wonderful child friendly wood polish melt 1 part wax with 2 parts mineral oil in a double boiler, pour into glass jar and let solidify.
Almost finished!
You can see the difference in color between the polished pieces and the unpolished pieces. Love the golden glow and they smell good enough to eat!

Saturday, March 19, 2011

Fully Friends and Family Fun Day.

I needed a well deserved break from spending all of my waking hours making Montessori materials, setting up the school area and studying the presentations. So A-girl and I spent some quality time in the kitchen whipping up some healthy raw treats.
First we made raw lemon shortbread cookies and being the Montessori mom that I am I couldn't resist offering the numeral cookie cutters for use. I'd ask A. to find certain numerals and she didn't balk at doing this since it was incorporated into a fun activity.
We'll be eating numerals in no time!
(well actually they have to dehydrate for 8 hours!)
A. put some oat grain in our super duper blender to grind into flour. That went into a big bowl and then she put some almonds into the blender to grind... and that went into the bowl. Then some coconut flour, some melted coconut butter, fresh lemon juice and some agave syrup. Little hands mixed well and tasted too many times! I kneaded the dough and then we got rolling.
There were some major motor skills involved
in trying to roll out the slightly tough dough.
Cutting out the numerals.
Last step, put on the dehydrator trays
and into the dehydrator to crisp up until tomorrow.
Now I will inevitably hear "when will they be done Mommy?" every hour or so until bedtime. And I will say then "they will be done in the morning and you can have some at breakfast time!" "Yayyyyyyy!" The great thing is we can have cookies for breakfast because they're so healthy!
We also whipped up some raw "cheez-its" (vegan but taste amazingly like cheddar cheese!) and raw onion bread. (this one takes two long days of waiting for it to dehydrate until you can savor that oniony flavor!) Do we learn patience around here? Yes!

Friday, March 18, 2011

Madly Making Materials - Sandpaper Numerals

Countdown to home-school grand opening: T minus 3 days and counting... AAAAAHHH. So much to do but it's been a creative bonanza for me! Something I had been lacking for a few months except for home-made Christmas presents. In the last post I made the following list of materials that were on the drawing board:
1. Teen Board
2. Ten Board
3. 2 sets of Lg. number cards
4. 3 sets of Sm. number cards
5. Lower case sandpaper letters (print)
6. Sandpaper Numbers
7. Number cards for number rods
8. Red rods
For the sake of including my home-made material forays in What Did We Do All Day's Ultimate Montessori Home Made Materials Collaboration I'm posting each material I've crafted separately. Today is the saga of Sandpaper Numerals!
Thanks Grandpa T for cutting out all of this lovely 1/8" Birch Ply!
And then the sanding began... and it went on... and on... and on... until we had beautiful smooth rounded edges and corners on every piece! Well worth the work.
Now for the paint. Watch out for that wind blowing!
My "what I thought to be a brilliant idea"
of making stencils out of good ol' macTac so that I could paint glue on and then pour sand on the glue. I wanted the letters to be as authentic Montessori as possible and durable. After cutting out all of the stencils and applying I then was educated on the impossibility of finding fine sand where we live! Play sand--- NO, too gritty. Gravel Pit sand--- NO, it's covered up by 5 feet of snow here! Craft sand?--- NO, it doesn't exist around here. Oh well, sandpaper it had to be...
They must be looking OK as little fingers are itching to touch them!

Sunday, March 6, 2011

Madly Making Materials! - Sound Cylinders and Smelling Cylinders

A. and I are visiting Grandma and Grandpa T for a few days and it's been the perfect opportunity to run around shopping for supplies. On the drawing board are:
1. Teen Board
2. Ten Board
3. 2 sets of Lg. number cards
4. 3 sets of Sm. number cards
5. Lower case sandpaper letters (print)
6. Sandpaper Numbers
7. Number cards for number rods
8. Red rods
I've purchased 1/8" birch plywood and 4- 8 foot lengths of 11/16" square trim to make all of these items. Grandpa T. is right now inputting all of the dimensions into a free wood cutting layout program to get the most efficient use of our wood and then he'll start cutting! Thank-you Grandpa T! Then it will be Sand, sand sand and more sanding on my part. I'll keep you posted on these items as they come along.
Last night I put together the Sound Cylinders and Smelling Cylinders. Here's what I used:
24- film canisters (free from the drug store film developing lab
1 roll of wood look Mac Tac (drawer liner)
6 each of round red, blue, green and yellow stickers
4 cardboard boxes with lids
(See Below)
Sound and Smelling Cylinder Supplies!
We would all love to have the beautiful wooden cylinders with their matching boxes I'm sure, but reality doesn't always cooperate soooo.... At least these will look like wood and not film canisters! I cut strips of the MacTac to stick around the canisters, put a matching color sticker to differentiate the different cylinders and then covered the boxes to match. The MacTac was a little fiddly but after a few I got the hang of it so that they didn't look too ragged. I think they look pretty good considering the faux-ness of it all! The best part is that both of these activities together only cost $5!
Now, what to fill them with?!
My ideas for the sounds are: rice, mung beans, popcorn, sand, small rocks and kidney beans
My ideas for the smells are: lemon juice, mint oil, vanilla, cinnamon stick, oregano and basil
I'd be interested to hear what other people put in their cylinders. Would it be weird to put one or two yucky smells in there?! It might be fun and then to take photos of the child when they smell each one and do some emotion recognition! A. is very interested in what I'm making. I think it helps build anticipation for the activity when they can see it being created. She keeps asking when she can use it but I think we'll wait until we're home in our environment so that we can formally "Open" her school with a little celebration to make it fun and exciting! That idea just popped into my head now while writing. What am I doing, making more work for myself! Am I complaining, NO that's what I live for nowadays and it's just as fun for me crafting materials, learning new things and sharing this learning experience with A. girl. My life couldn't get much better than this!

Friday, March 4, 2011

Montessori Print Shop Giveaway at Mommy Moments!

Mommy Moments is hosting a super giveaway for their Birthday Bash:

Birthday Bash - Montessori Print Shop Deluxe CD Rom Giveaway (ARV$580)

http://www.mommymoment.ca/2011/02/birthday-bash-montessori-print-shop.html Winning this would go a LONG way towards setting up a wonderful homeschool Montessori environment for some lucky little child/children! Good Luck!